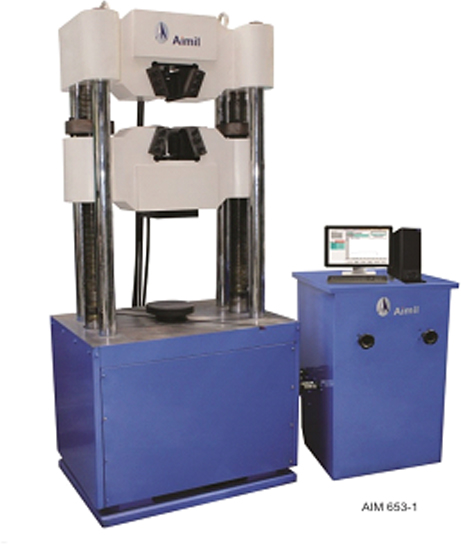
TESTS ON STEEL
Mechanical testing of metals tensile strength
Principle: This test starts by applying tensile force to a test piece, generally to fracture, for the purpose of determining one or more mechanical properties of the test piece
Reference: IS 1608: 2005, IS 1599: 2012, and IS 1786: 2008.
Procedure :
- a) Take a sample of specified heat no. having length minimum 600mm.
- b) Calculate the cross sectional area from the measurement from the appropriate dimension.
- c) Mark the original gauge length (Lo) from the following formula: Lo=5.65*sq. root(C/S area).
- d) The original gauge length should not be less than 25mm.
- e) Mark the grip length on both ends of the specimen of min 150mm.
- f) Fix the specimen between the grip plates both in top & bottom by suitable means such as pin holder & ensure that the test piece are held in such a way that force is applied axially.
- g) Apply force in such manner so as to strain the test piece in a non-decreasing manner, without shock or sudden vibration.
- h) Measure the gauge length after fracture (Lu) by keeping two broken pieces carefully fitted back.
- i) Calculate the elongation (%): (Lu-Lo)/Lo*100.
- j) Calculate the 0.2% Proof Stress, Yield stress from the load Vs extension graph.
- k) Calculate the Ultimate stress from load Vs displacement graph.
Ultimate stress = P L/ c.s Area
Some important terminology:
Gauge Length : Length of the cylindrical or prismatic portion of the test piece on which elongation is measured at any moment during testing.
Original gauge length (Lo) : Gauge length before application force.
Final gauge Length (Lu) : Gauge lengths after fracture takes place, the two pieces are carefully fitted back so that axis lies in a straight line.
Percentage permanent elongation : Increase in the original gauge length of a test piece after removal of specified stress, expressed as % of the original gauge length.
Percentage total elongation at fracture (At): Total elongation of gauge length at the moment of fracture, expressed as a % of the original gauge length (Lo).
Percentage reduction of area (Z): Maximum change in C-S area which has occurred during the test (So-Su) expressed as a percentage of the original cross sectional area (So).
Tensile Strength (Ts): Stress corresponding to the maximum force (Fm) is known as tensile strength.
Yield stress (Ys): during the test the metallic material exhibits the yield phenomenon, when it reach such a point where elastic deformation occurs without increasing the load, the stress of that particular moment is known as yield stress.
Upper yield stress (Yus): the value of stress at the moment when first decrease in force is observed is known as upper yield stress.
Lower yield stress (Yis): Lowest value of stress during plastic yielding is known as lower yield point.
Proof stress of non-proportional extension: Stress, at which a non proportional extension is equal to a specified percentage of the extensometer gauge length (Le), is known as proof stress at non-proportional extension.
Proof stress at total extension: Stress, at which total extension (elastic extension + plastic extension) is equal to a specified percentage of the original gauge length (Lo), is known as proof stress at the total extension.
Bend test:
A bend test is an inexpensive qualitative test that is used to determine the flexibility and soundness of materials. Bend tests deform a test steel material midway causing a bend to form without a fracture. Consequently, you specify the material’s resistance level. A bend test’s goal is to load the sample material into a specific shape
Bend tests help determine whether a material will fail under pressure especially in construction processes. The frequency of bending test is necessary to maintain so that no steel reinforcement with failed bending test reports can be used and prevent it from the possible structural issue.


